Commercial Property Photography Checklist for Bangalore Owners
Published
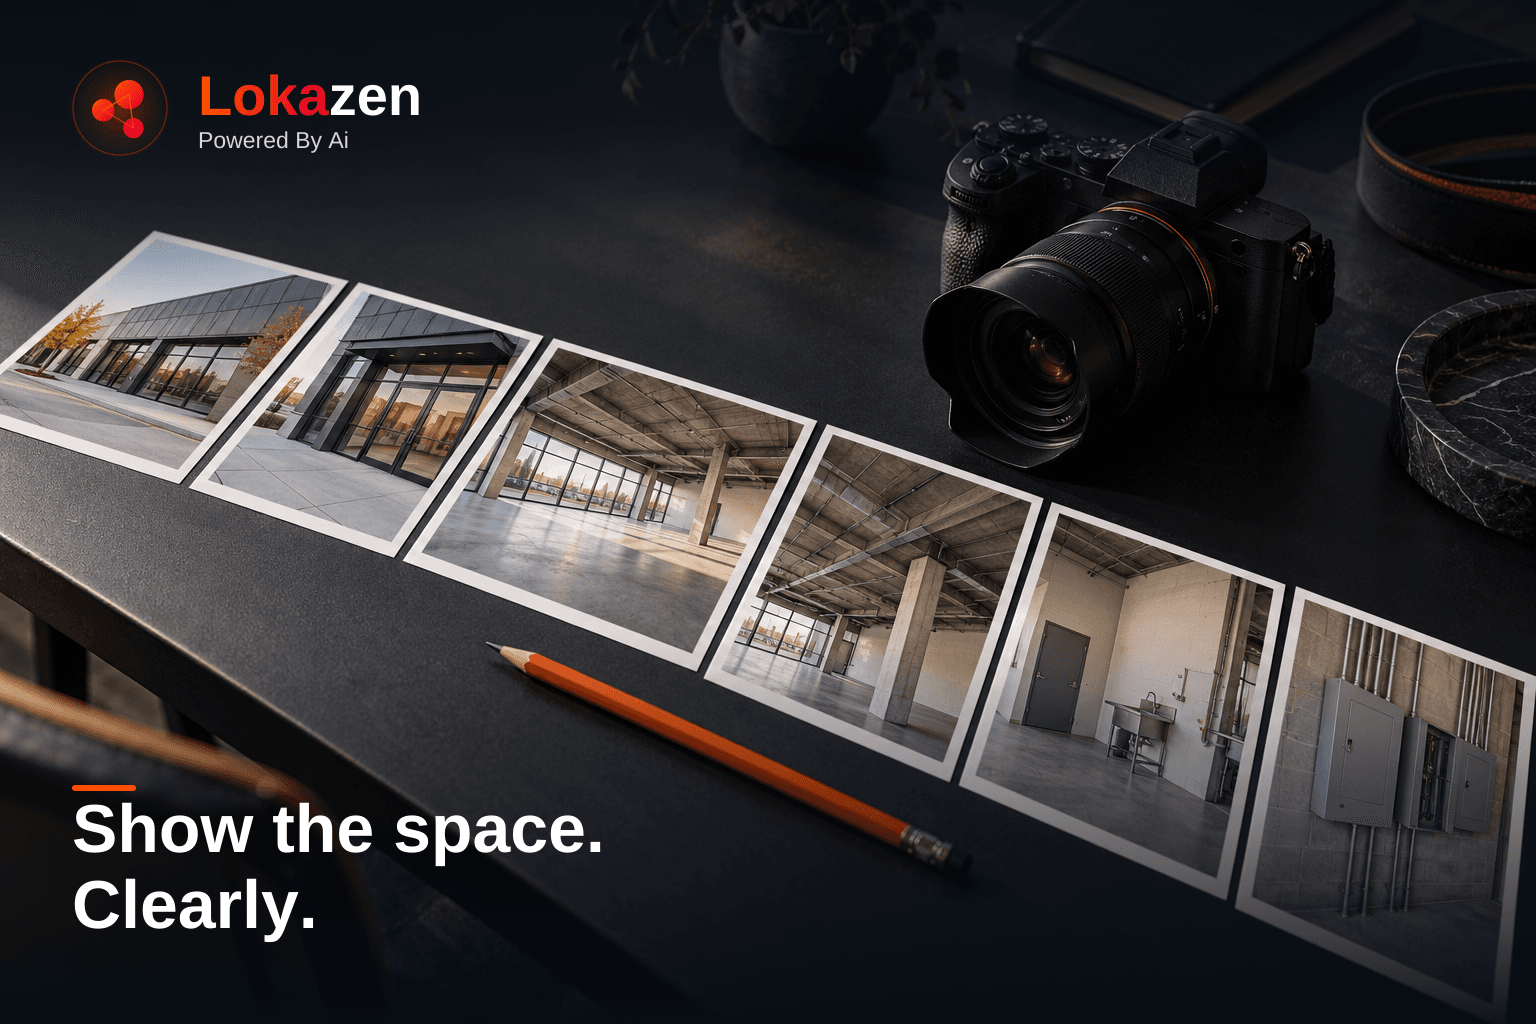
AI-generated editorial illustration. Not a listed property, verified location or measured layout.
Quick answer: A useful commercial property photo set shows the route to the unit, its complete frontage, the connected interior, visible services and every known visible defect. Give each image a date, location and plain-language caption. Send a measured plan and technical records separately. The result should help a prospective brand decide whether to visit, who should attend and what needs checking on site.
For a Bangalore owner, the difficult part is rarely taking more photographs. It is showing the exact unit clearly when the listing may be circulating through several people. A cropped shutter image, an old fitted interior and a photograph from another floor can create three different versions of the same offer. Start with one current, identifiable set before adding promotional material.
This checklist is for a vacant or soon-to-be-vacant commercial unit. It also works for occupied premises when access and photography have been agreed. It is an evidence-gathering method, not a building survey or proof that the property suits a particular business.
What should a commercial property photo set answer?
A brand needs enough information to prepare a useful visit. The questions change by format. A showroom team may focus on frontage and bulky-goods access. A cafe team may need to see the available back-of-house areas and where services enter. An appointment-led business may care about the route from the building entrance to an upper-floor door.
Ask the enquirer for the business format, likely customer approach and any known layout constraints. Then use the same core sequence for everyone, adding relevant details. Avoid creating a flattering version for one prospect and a more complete version for another. Facts about the offered unit should remain consistent.
| Photo group | Question it helps answer | Evidence still needed |
|---|---|---|
| Street approach in both directions | Can a first-time visitor identify the building and entrance? | Current route conditions and any access restrictions |
| Full frontage and doorway | Where does the offered opening begin and end? | Measured frontage and boundary confirmation |
| Connected interior views | How do the rooms, columns and doorways relate? | Dimensioned plan and proposed layout review |
| Ceiling, floor and visible services | Which features deserve closer inspection? | Qualified assessment of condition and capacity |
| Rear route, storage and shared areas | What operational questions should the tenant bring? | Rights to use the spaces and operating arrangements |
| Visible defects and inaccessible areas | What is unresolved before the visit? | Investigation, repair evidence or an additional inspection |
A photo earns its place when it answers a question or exposes a gap. Several nearly identical wide shots do neither. A smaller, well-indexed set can be more useful than a large unlabelled album.
1. Establish the unit, date and boundaries
Create one folder for one unit. Put the building reference, floor, unit identifier and capture date in the name. Where the premises have no reliable unit number, use an agreed description such as “ground floor, left of the main lobby” and add a sketch. Check that the person arranging the visit uses the same description.
Start the index with the contact responsible for access, the date of capture and a short statement of what is offered. Include mezzanines, rear rooms or terraces only when their inclusion is confirmed. Label common corridors, shared washrooms and adjoining units explicitly. Their appearance in a photograph does not make them part of the letting.
Record any parts you could not enter. “Rear storage locked during photography” is useful information. Omitting that room without explanation leaves the viewer unable to distinguish an inaccessible area from a nonexistent one. If the unit is occupied, agree which areas and fixtures may be photographed before starting.
2. Follow the actual visitor approach
Photograph the building from each practical arrival direction using safe, accessible positions. Include enough context to identify the correct frontage, a corner or a building entrance. Then move closer: whole frontage, doorway, threshold and the route into the offered unit.
For a side-lane property or a unit set back from the main road, show the turn and the setback. For an upper floor, show the building entrance, shared route, relevant stairs or lift lobby, and the final unit door. A photograph of the shop interior alone cannot explain these transitions.
Avoid implying that an unmarked roadside space is parking, that a parked vehicle proves loading permission or that a neighbouring signboard position is available. Caption the observation directly. If parking or signage matters, place the question in the accompanying information sheet and seek confirmation from whoever controls it.
Capture any step, slope, drain crossing, gate or obstruction that a visitor will encounter. Do not move a temporary obstruction solely to make the route look clear without also recording the usual condition. If it is being removed permanently, show the dated change in a later set.
3. Show how the interior fits together
Take a view from each accessible corner towards the opposite side, plus a view back towards the entrance. Continue through partitioned rooms in a logical sequence. Number the images so a reader can follow the same route as the photographer. A quick sketch with camera positions helps when the layout is irregular.
Include columns, beams, ceiling changes, floor transitions, recessed corners and openings between rooms. These features may affect a proposed layout even when the total area appears adequate. Show them in context before taking close-ups. A column close-up without its position in the room provides little planning value.
Use normal-perspective photographs alongside any wide-angle image. Keep the camera reasonably level and avoid compositions that exaggerate depth. Photograph dark areas honestly with suitable lighting rather than editing them into a different condition. Preserve the original files if the sharing copy is resized.
Google's guidance for Business Profile photographs asks for focused, well-lit images that represent reality without significant alteration or excessive filters. That is a useful presentation principle here too, although a leasing photo pack is a separate use and this article makes no claim about search ranking. Google photo guidance.
4. Keep photographs and measurements separate
A photograph can show a doorway worth measuring. It cannot establish its clear opening reliably from perspective alone. The same applies to frontage, room depth, ceiling clearance and area. Do not add a guessed number to make the pack seem complete.
If a measured plan is available, include its date, preparer, measurement basis and any unmeasured sections. Use the same room references as the image index. If an owner-provided sketch is preliminary, say so and identify the measurements that need checking at the visit.
RICS guidance on property measurement stresses recording how and when measurements were collected and supporting them with annotated plans. The practical lesson is to keep a traceable measurement record beside the photographs. This is methodological context, not a statement that a particular international standard governs every Bangalore letting. RICS measurement guidance.
5. Record services without certifying them
Photograph accessible utility locations, washrooms, visible drainage points and the start of any service or exhaust route. Use captions that describe what is visible: “closed electrical panel beside rear door” or “visible pipe entering shared shaft.” Add whether access to the rest of the route was available.
Do not open electrical panels, remove covers, operate unfamiliar machinery or climb onto roofs to obtain an image. Arrange a suitable professional inspection when the proposed business depends on a service. Keep the relevant report, drawing or provider record separate from the visual index.
This distinction changes the visit plan. If the tenant expects a power-intensive fit-out, a photograph of sockets is not an answer to its load question. Flag the question so the right person can review the supply and proposed demand. If the visible duct disappears into a locked area, arrange access rather than labelling the entire route usable.
6. Give defects and historical images clear labels
For each visible issue, take one wider locating image and one closer image. Describe appearance without diagnosing cause: “staining below rear ceiling” is an observation; “minor condensation only” is a conclusion that needs evidence. Record who has been asked to investigate and whether access or information is missing.
Do not digitally remove cracks, staining, obstructions or unwanted fixtures from a current-condition image. Keep renders and proposed-fit-out images in a separate section labelled illustrative. If an outgoing tenant's furniture will be removed, name that exclusion even when it appears in every interior photograph.
Historical photographs can explain a previous layout, but they need their original date and a note about what has changed. Put the current set first. When work is completed, add matching-position photographs and any relevant completion evidence. Preserve the earlier image where it helps explain the repair history.
Worked example: preparing a cafe team's first visit
Hypothetical example, not a Lokazen client case: An owner is presenting a ground-floor unit in a Bangalore neighbourhood building. The first album contains attractive interior photographs from the outgoing retailer. It does not show the entry step, a rear room or the shared corridor behind the unit. No business suitability or commercial outcome is assumed.
The owner prepares a new indexed set. The pictures show the entire frontage, the entry transition, connected interior corners and the rear door. The rear room is photographed after access is arranged. The shared corridor is labelled as common space, and the old retailer's shelving is marked for removal.
| New evidence | Question the brand can now ask | Person or record needed |
|---|---|---|
| Entry transition visible in context | How would the proposed customer route work? | Designer and site measurements |
| Rear room and door shown together | Can the proposed storage and preparation layout fit? | Operator's layout and measured plan |
| Visible service route ends at a locked shaft | What continues beyond the accessible section? | Building representative and qualified reviewer |
| Shelving marked for removal | What condition will the walls and floor be handed over in? | Agreed work schedule and handover record |
The practical gain is a sharper inspection agenda. The brand can bring the appropriate people, ask for access in advance and identify missing documents. The photographs have not established an opening cost, permission, safe capacity or likely revenue. Those decisions remain separate.
Send a pack that survives forwarding
Use a numbered file sequence and a short PDF or text index. Keep captions with the images wherever practical so they do not disappear when individual files are forwarded. A filename such as “08_rear-room_towards-door_2026-10-10” is more informative than “final-new-3.”
Avoid including people's faces, vehicle details, private correspondence, account information or access codes unnecessarily. Keep security-sensitive information in the appropriate restricted handover channel. The prospect needs a clear view of the unit, not the contents of the owner's paperwork or neighbouring businesses.
Before sending, check the pack on a phone. Can the frontage and room labels be read? Are the images in order? Does a video open without replacing the still-image evidence? Ask the recipient to return questions using the image numbers so the next visit resolves specific gaps.
Reusable owner checklist
- Identify the exact unit, floor, capture date and person responsible for access.
- State which rooms and external areas are included, shared, excluded or unconfirmed.
- Show both approach directions, the complete frontage and the entire route to the door.
- Connect interior views with numbered photographs and a simple sketch.
- Include columns, ceiling changes, thresholds, rear areas and accessible service locations.
- Pair each visible defect with a locating image and a close-up.
- Keep historical images, proposed renders and current photographs clearly separated.
- Attach measurements and professional reports with their own dates and limitations.
- Remove unnecessary personal information and keep original files.
- List unanswered questions and arrange the access needed for the first visit.
For the broader listing pack, use Lokazen's commercial property owner's checklist and Papers Before Keys. When you are ready to discuss the unit, bring the current property details to Lokazen, including the photo index and the questions still open.
Frequently asked questions
- How many photos do I need for a commercial property listing?
- Use enough to cover every relevant route and accessible part of the offered unit without unnecessary duplicates. The sequence matters more than a fixed count. Start with the approach, frontage, connected interiors, services and defects, then add views that answer the prospective tenant’s specific questions.
- Can I use my phone for property photography?
- Yes, if it produces clear, well-lit images with understandable perspective. Clean the lens, keep the camera level and review the images before leaving. A professional photographer may improve presentation, but neither professional equipment nor a polished image replaces measurements or technical checks.
- Should I show damage in marketing photographs?
- Include known visible issues in the evidence pack, with neutral captions and wider locating views. A clear repair status helps the tenant plan its review. Removing or hiding defects can leave people making decisions from an incomplete description of the unit.
- Can a walkthrough video replace still photographs?
- A video can connect the spaces, especially in an irregular layout. Keep numbered still images as well because a tenant can refer to a particular doorway, wall or service location without finding a timestamp. Record when the video was captured and any areas omitted.
- Should photos include measurements written over them?
- Only include measurements with a reliable, stated source and an unambiguous reference. Keep the measured plan as the primary record. Perspective makes estimates from photographs unreliable, so do not infer usable area, ceiling height or doorway clearance from appearance.
- How should an occupied unit be photographed?
- Agree access, permitted areas and privacy arrangements with the current occupier. Identify fixtures that belong to that occupier or will be removed. If an area cannot be photographed, state the limitation and arrange a later check rather than substituting an image from another unit.
- When should the property photo set be updated?
- Update the relevant views after material changes such as removal of a fit-out, repairs, a changed entrance or a revised letting boundary. Keep capture dates visible and withdraw misleading old versions from the active pack. There is no universal refresh interval that replaces checking current conditions.
Read next
- Owner Guide
Commercial Delivery and Service Access: A Checklist for Owners
12 min read
- Owner Guide
Landlord Work Before Commercial Fit-Out: A Handover Checklist
11 min read
- Owner Guide
A street name is not a listing.
11 min read
- Owner Guide
From WhatsApp Forward to a Listable Bangalore Shop
12 min read
- Owner Guide
Using site-visit feedback to improve a listing without changing the story
11 min read
- Owner Guide
Keeping a commercial property listing accurate during active enquiries
11 min read
Work with Lokazen
Brands get scored Bangalore shortlists from verified listings. Owners get their space in front of brands that are actively looking.
More data-led guides on the Lokazen blog.